Kids Quilt!
Kids Quilt Kit Instructions
WELCOME TO QUILTING
We’re the Quilt Alliance, a national non-profit dedicated to quilt stories and quilting history. We believe that anyone, no matter their age or skill, can be a quilter, so we’re so excited that you’re here!
We’ve written these instructions for hand quilting, but you can also use a sewing machine if you have access to one, and a helper to get you started with sewing machine skills. Whether you’re sewing by hand or with a machine, younger kids may need an adult to assist with tricky steps or sharp tools. Tweens and teens could tackle this project on their own, or with an adult.
And finally: remember that there’s no wrong way to make a quilt. We hope you’ll take your time, make it your own, and have fun along the way!
TOOLS YOU’LL NEED:
From your Kids Quilt! kit:
-Front fabric piece, back fabric piece, and batting piece
-Medium size needle
-Thread
You’ll also need:
-Scissors and/or a rotary cutter (and an assistant to help you with cutting)
-A nice clean, flat surface
BEFORE YOU START!
Go ahead and fill out your quilt label–that way, the ink won’t bleed through the fabric. Your quilt is your artwork, so don’t be afraid to put your name on it! We have no idea who made a lot of older quilts that have survived until today, but we want to make sure that future historians know that this is YOUR quilt!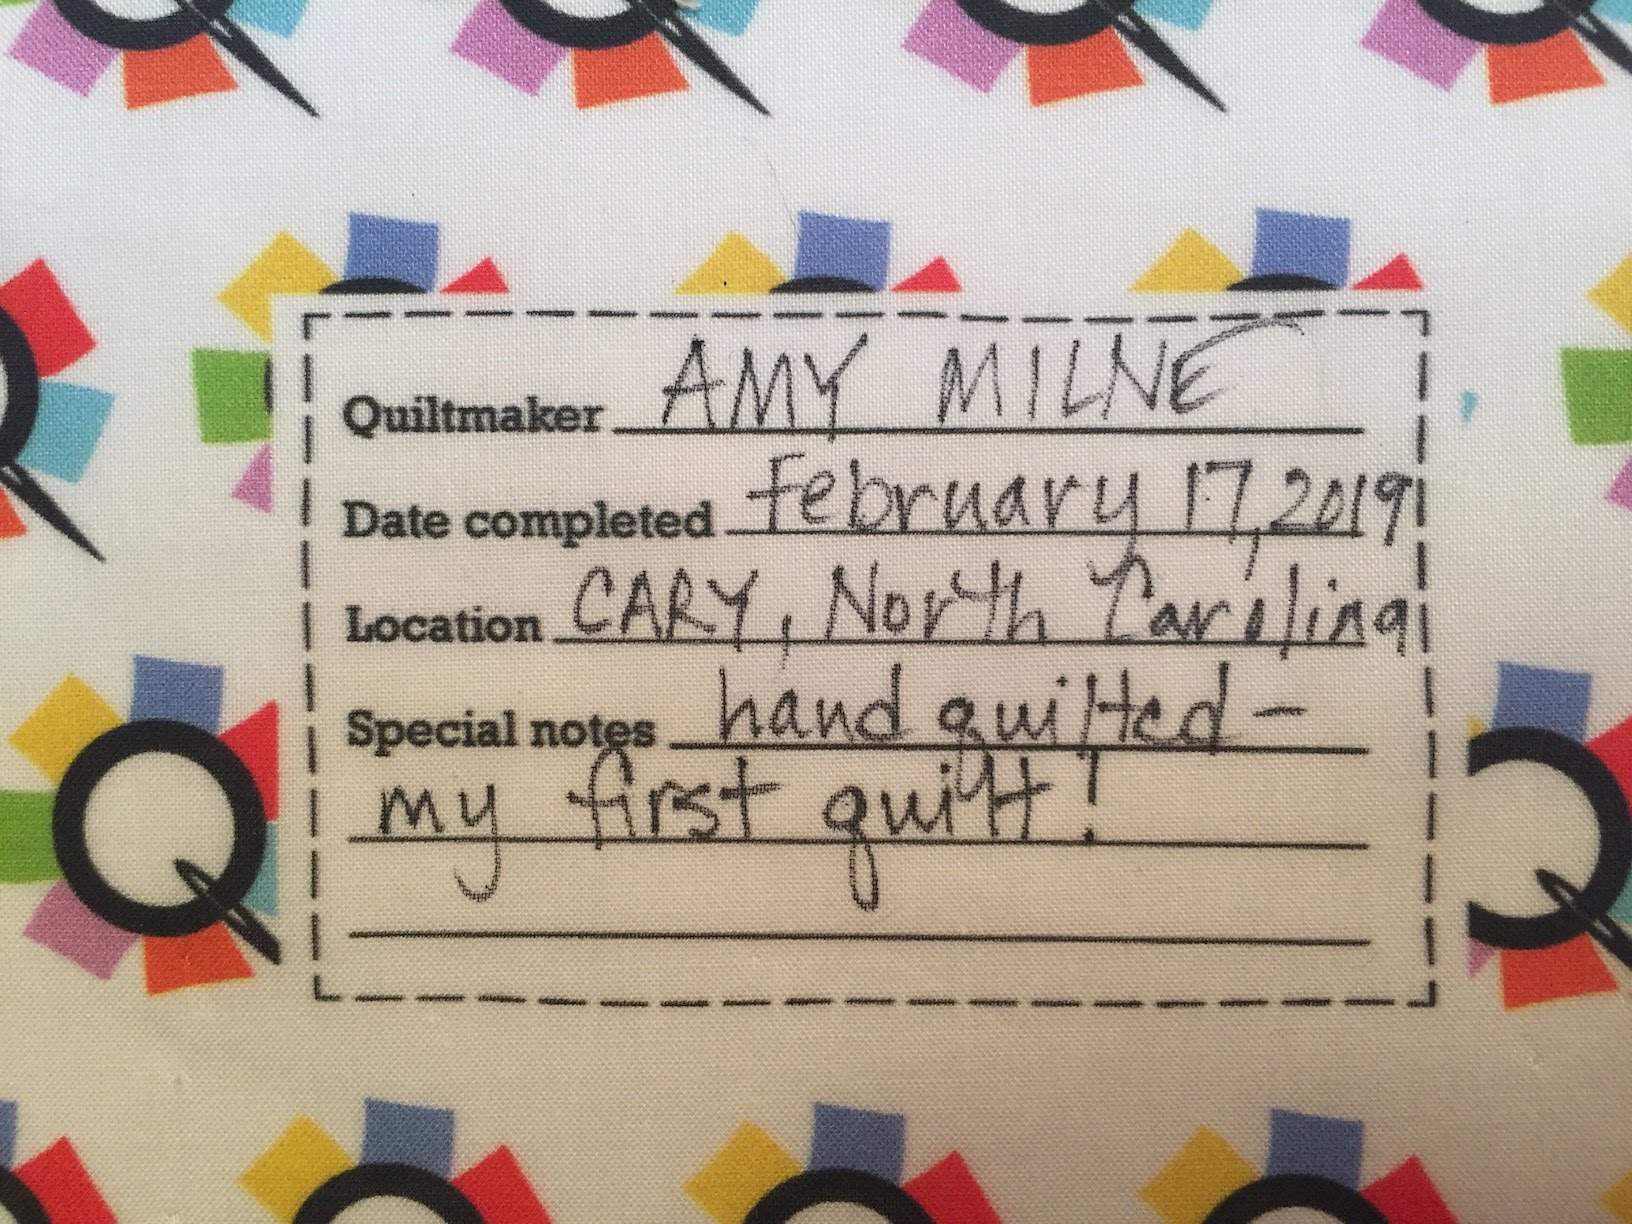
STEP ONE: MAKE THE QUILT SANDWICH
You’ll need: the front, back, and batting, your pins, and a flat, clean surface.
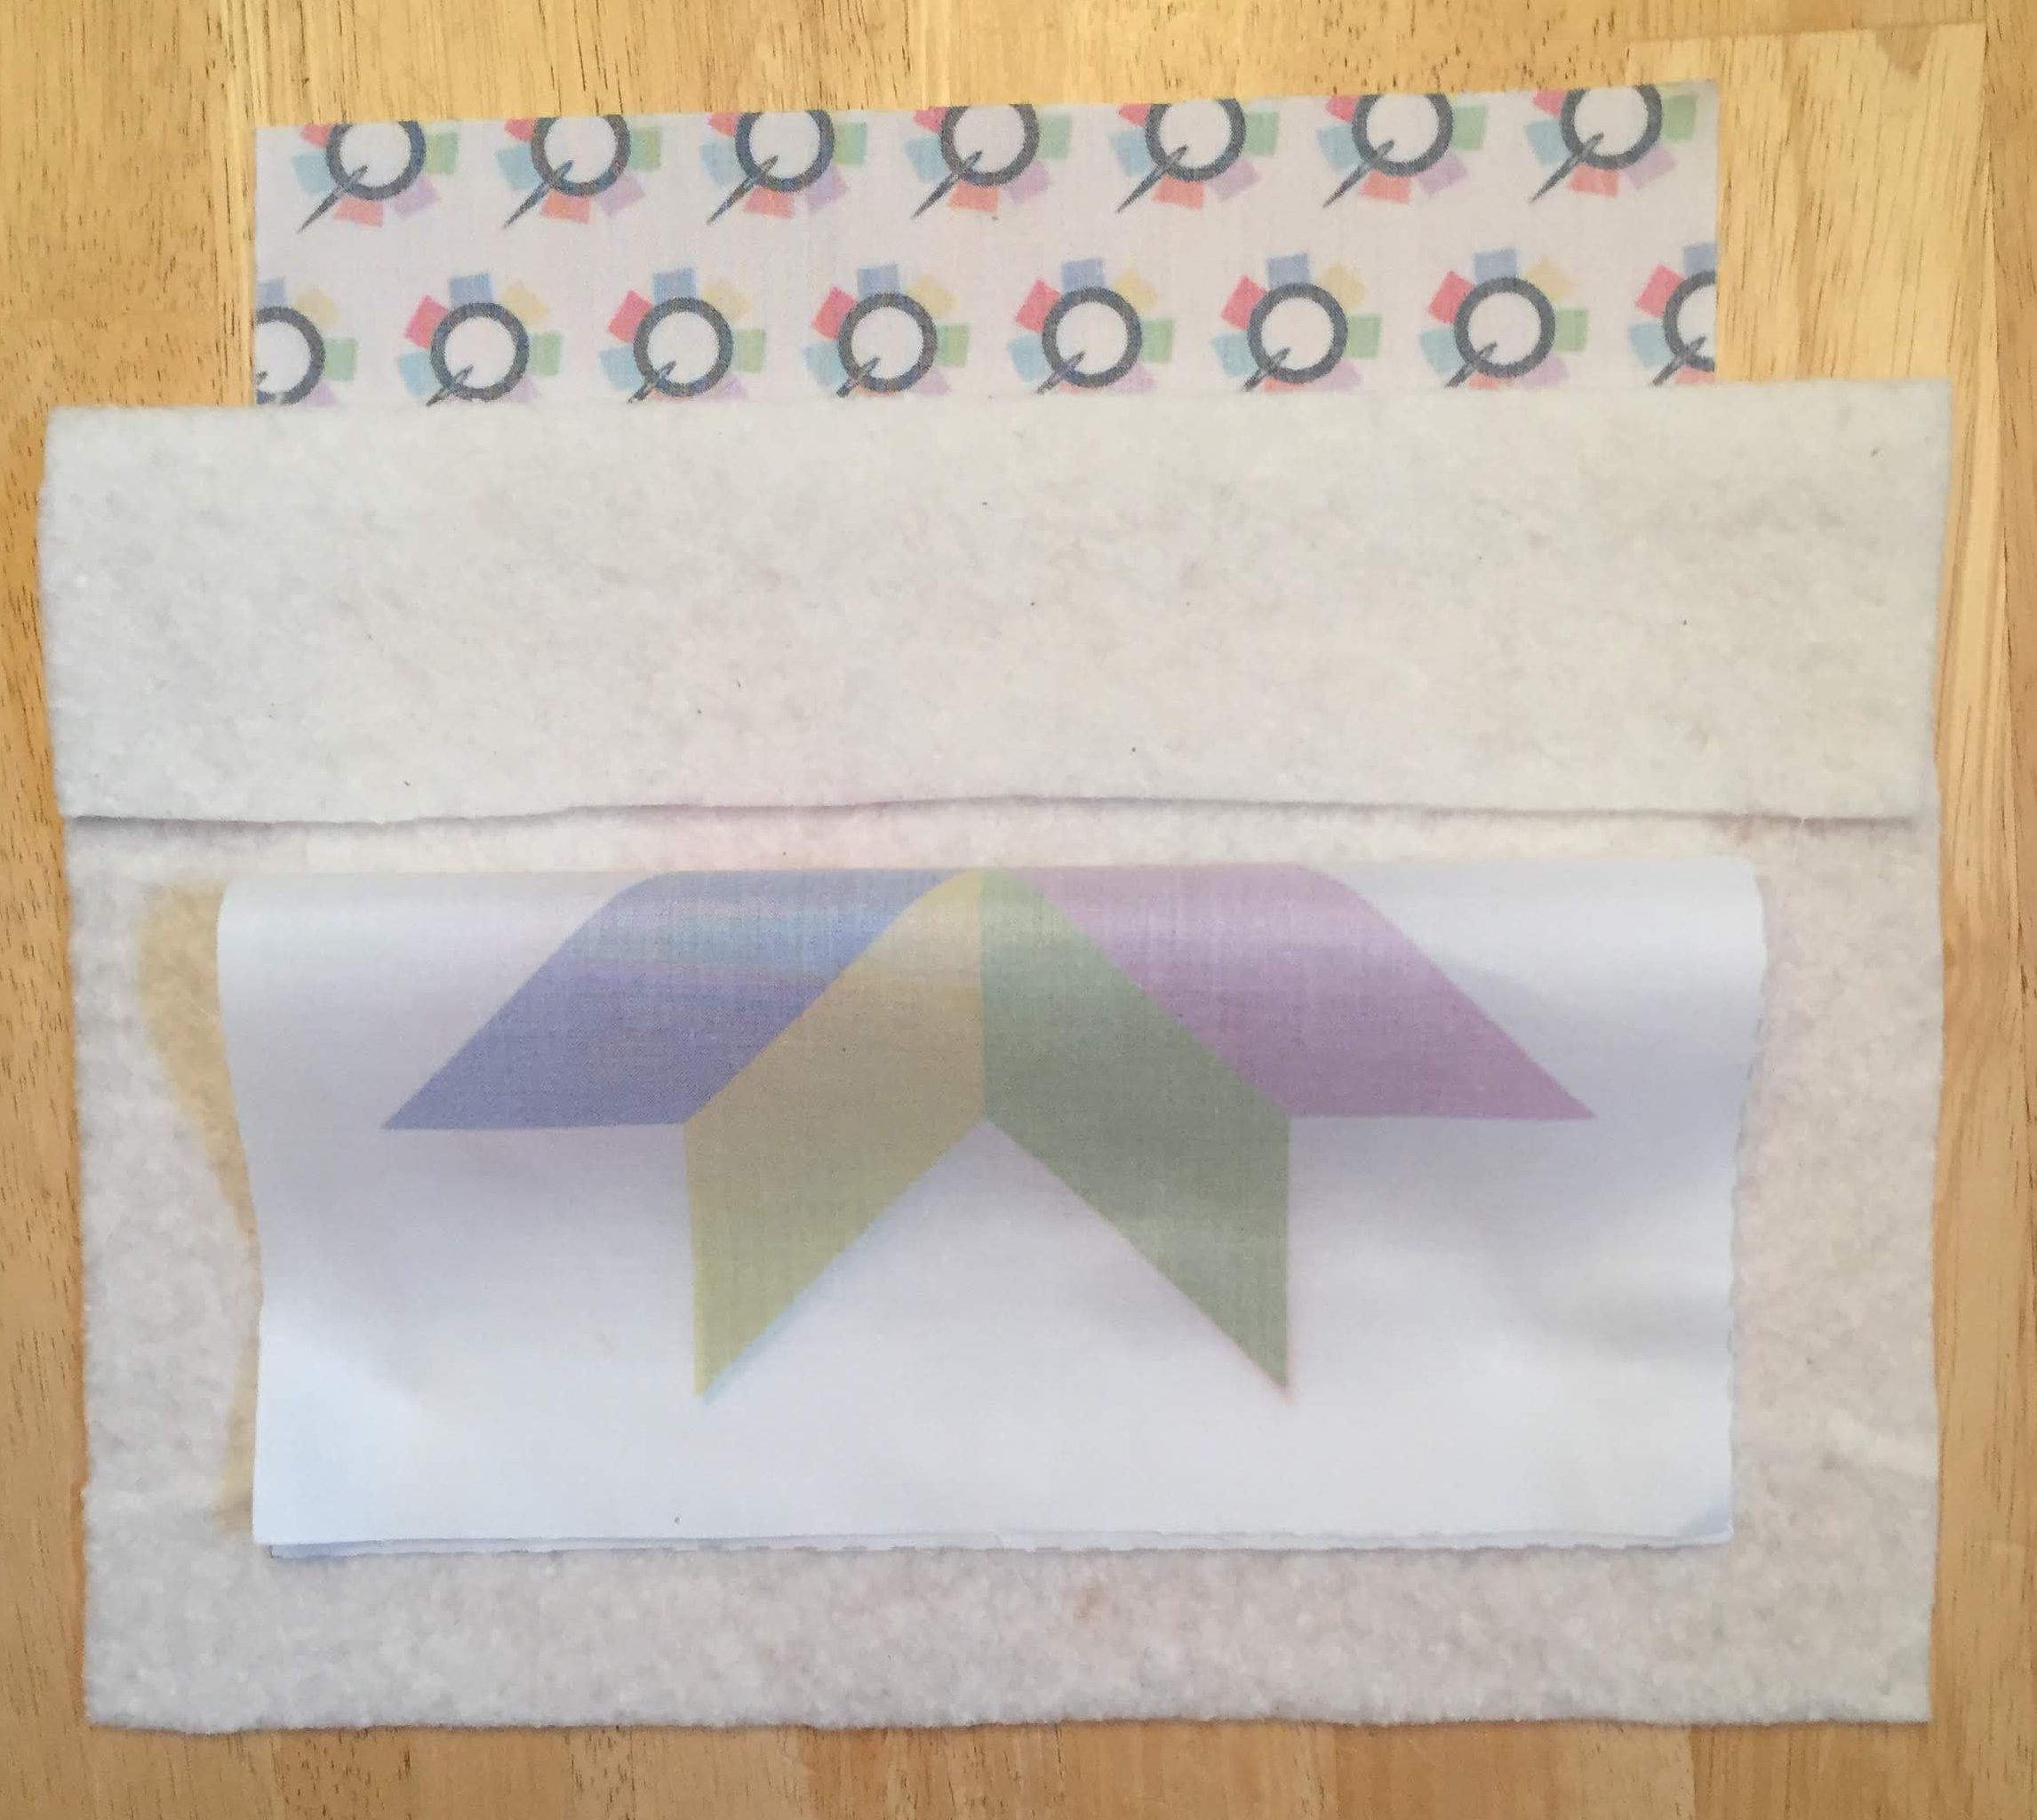 Spread out the back piece, with the design facing down. On top of the back, place the square of batting (this will be the filling of your quilt sandwich—yum!). Finally, lay out the front piece with the design facing up—this will be the top layer of your quilt sandwich! Make sure the edges are lined up nice and even with the back.
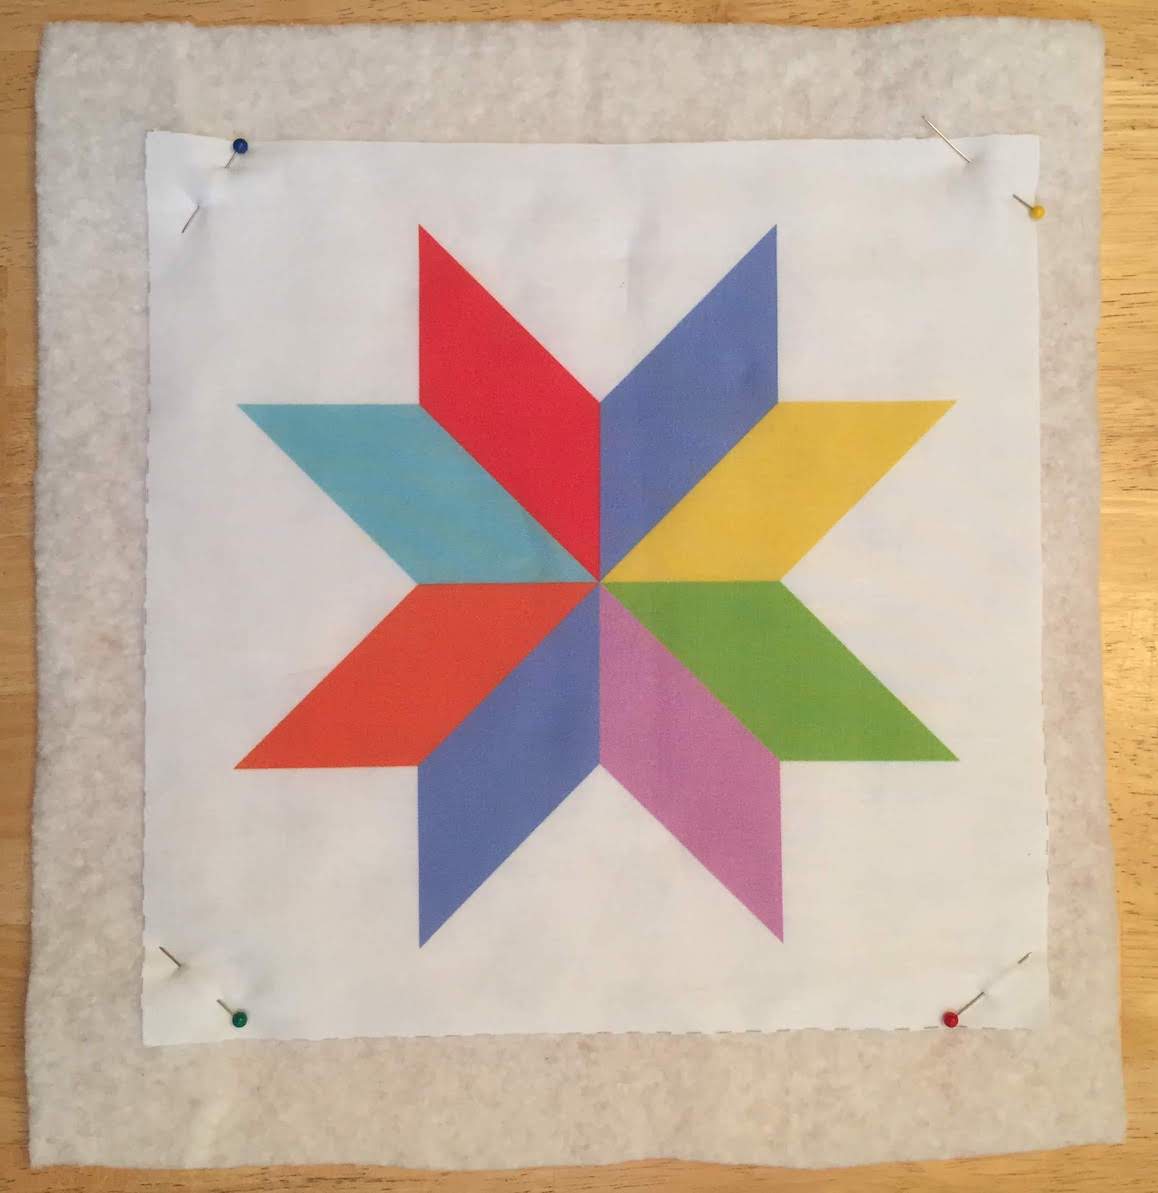
Pin the layers together – use your pins in each of the four corners to keep the layers from moving around as you sew.
STEP TWO: START QUILTING!
You’ll need: about 18 inches of thread, a needle, and your quilt sandwich.
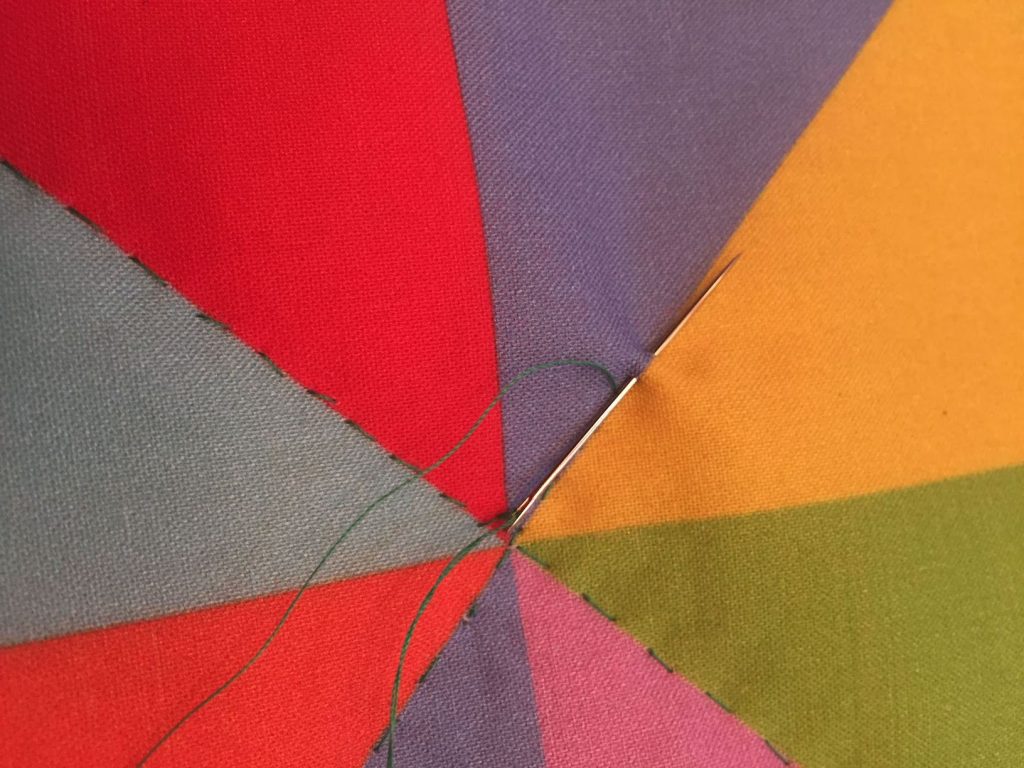
Go ahead and thread your needle (this part can be really tricky—ask an adult for help if you need it! or check out these videos) and tie a big knot at the other end of the thread.
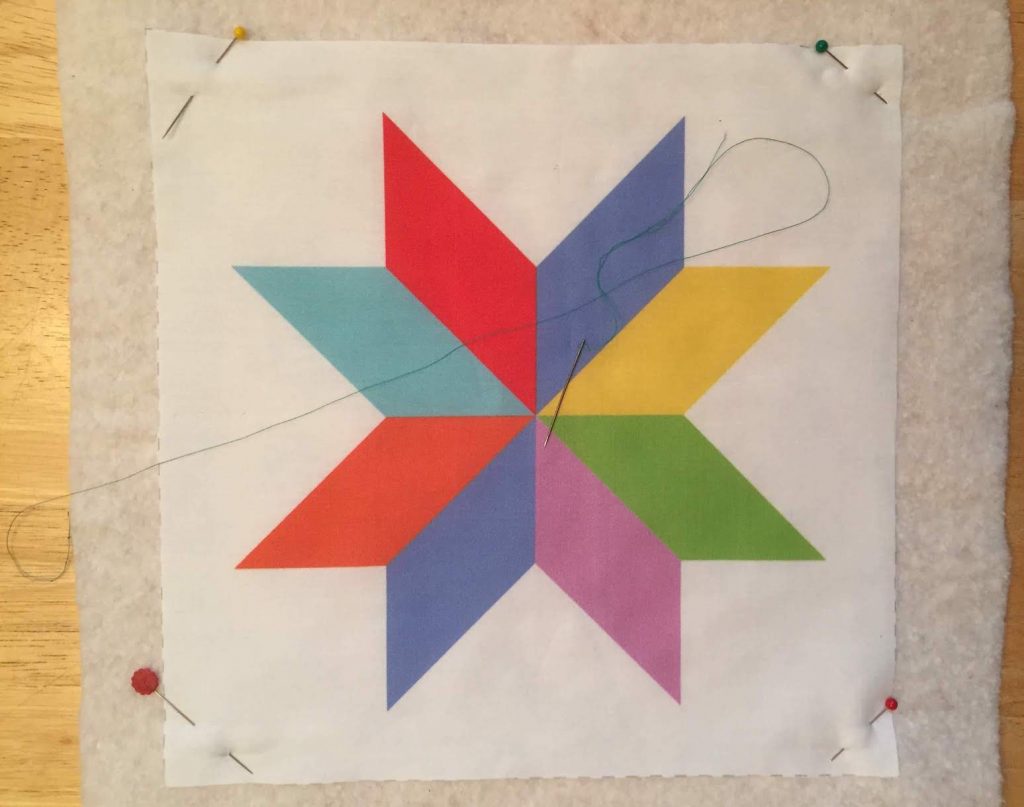
Starting from the back of the quilt, push your needle up through the fabric to the front. You might find it helpful to start quilting from the middle, and work your way out toward the edges of the fabric.
Pull the thread all the way through to the front. Then, bring your needle back down through the front to the back, very close to where you started. You just made your first stitch!
Now, do it again (and again!) — come from the back, just a short distance away from your last stitch, pull your needle through the fabric, and go back down again from the front to the back.
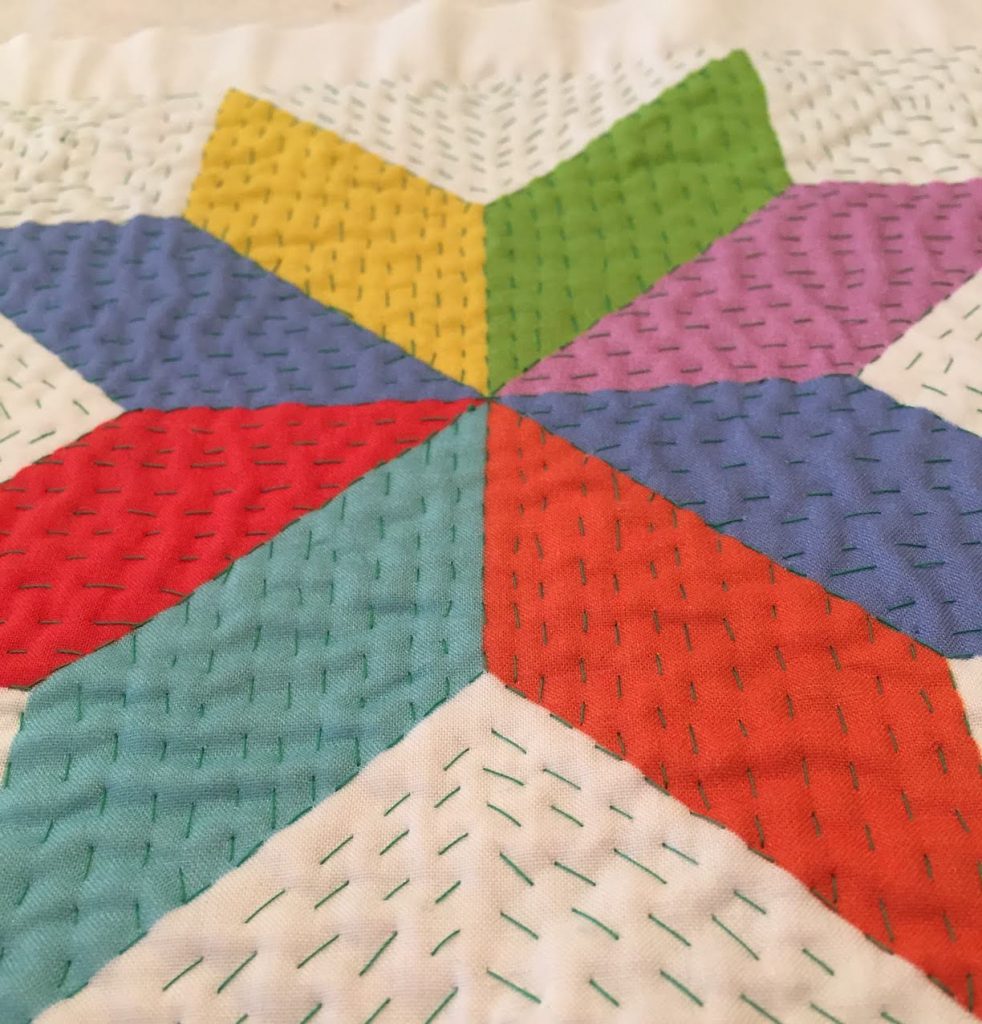
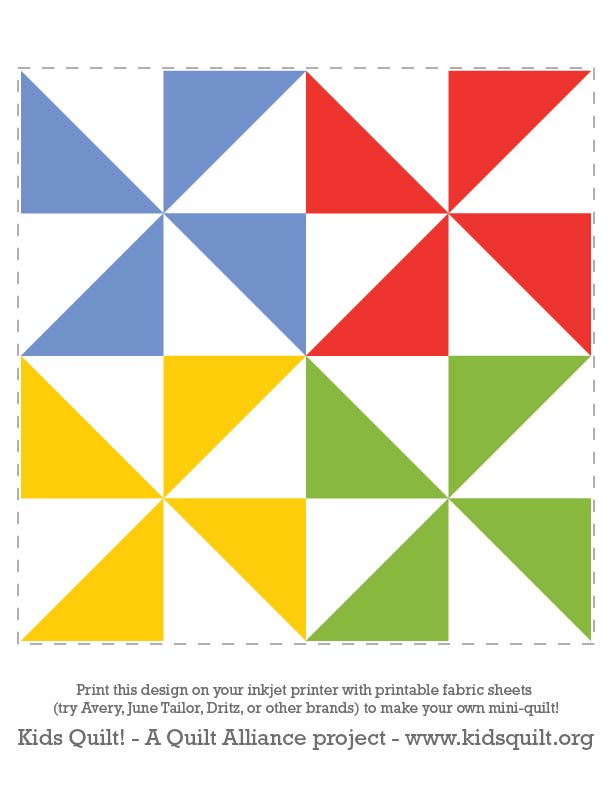
 Think of this part like drawing a dotted line with your needle and thread. Think about where you might want the quilted lines on your quilt before you start–there’s no wrong way to quilt your first quilt! You could follow the shape of the star, use parallel straight lines, or quilt different patterns in different parts of your quilt. Here are a few different ideas to get you started:


If you’re really getting the hang of sewing your dotted line, or you’re a more experienced sewer, you can also try a “rocking stitch” — picking up a few stitches at a time before you pull your needle all the way through the fabric. Check out this video for more about the rocking stitch.
 Keep quilting your quilt until you feel like it’s done–it doesn’t matter if the back is messy or the lines aren’t perfect, just keep sewing until you think it’s quilted the way you want it.
STEP THREE: FINISH THE EDGES
You’ll need: your beautifully-quilted quilt, a needle, thread, and cotton binding
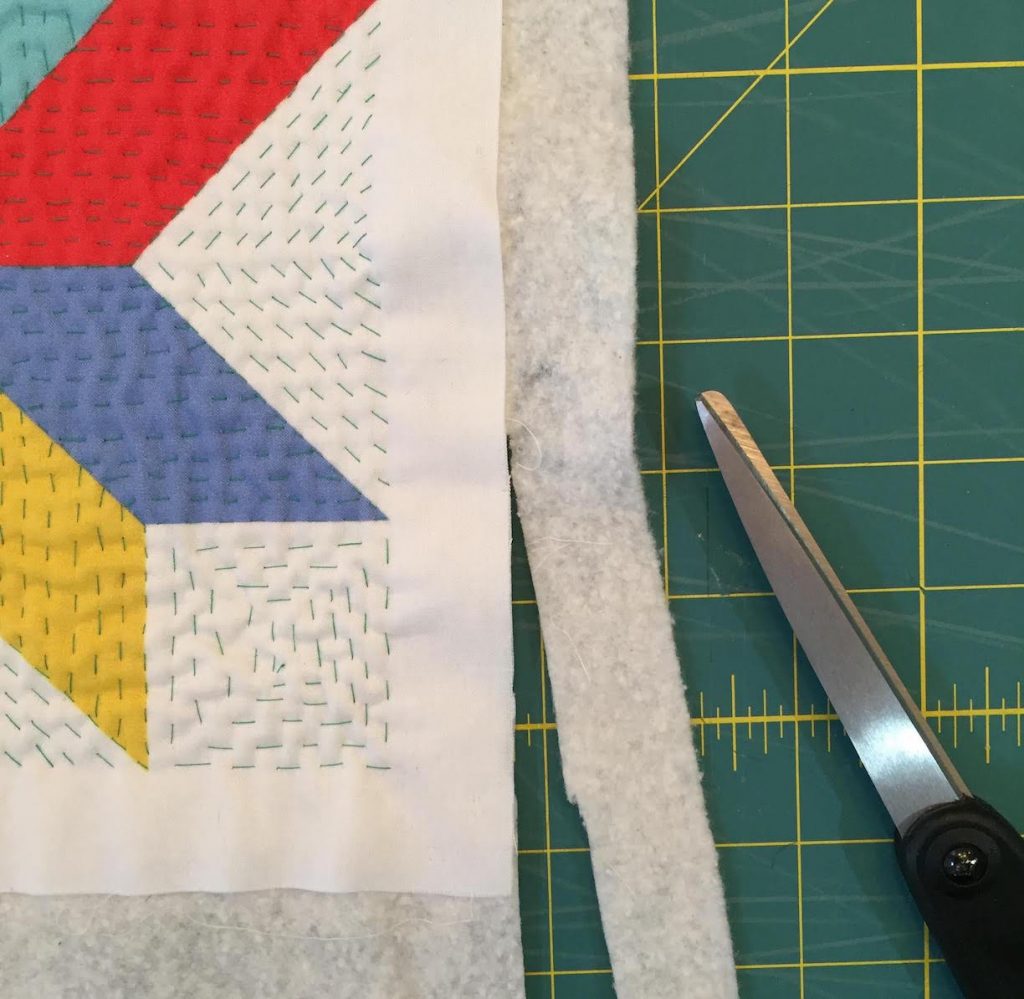
Once you’re finished quilting the layers together, trim the batting so that the edges are even and your quilt is nice and square–you can use a ruler or another right angle if you want to get it just right.
 There are lots of ways to finish a quilt (check out these videos to learn more about a few of them), but we chose to finish our quilt with binding. To get started, unfold the first few inches of binding and pin one edge alongside the front edge of your quilt. Sew a line of stitches right next to the first fold in the binding, the fold that’s closest to the edge of the quilt. Once you’ve sewn all the way down one edge, fold the binding over the edge of the quilt, and sew it down on the back side of your quilt.
This step can be a little tricky–for more instructions, check out this video to get started binding your quilt.
STEP FOUR: ENJOY YOUR QUILT
Congratulations–you did it! No one’s ever made a quilt just like this one before. What can you do with your new quilt?
- Hang it on the wall of your room or use it to decorate a table top
- Use it to keep a stuffed animal or doll extra-cozy
- Gift it to someone you care about (quilts make great gifts!)
- Share it or ask a parent to share it online with the hashtag #QAkidsquilt
Customize your quilt!
There are dozens of ways to make a quilt your own style. Here are just a few techniques we like to use:
- Change up your quilting thread color, or use a thicker or thinner thread to change the look of your quilting
- Choose a different finishing technique, like the “pillowcase” method, or binding your quilt with the backing fabric.
- Add embellishments to your quilt like buttons, sparkles, or embroidery
- Decorate or write on your binding with a fabric-safe pen
- Make a mini-quilt with your own artwork: start with blank fabric, use a fabric pen to draw, and quilt around it!
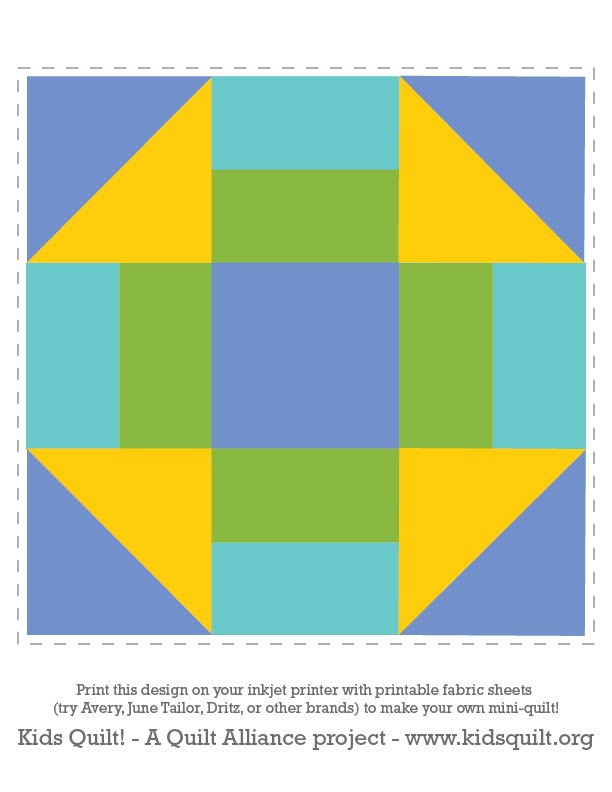
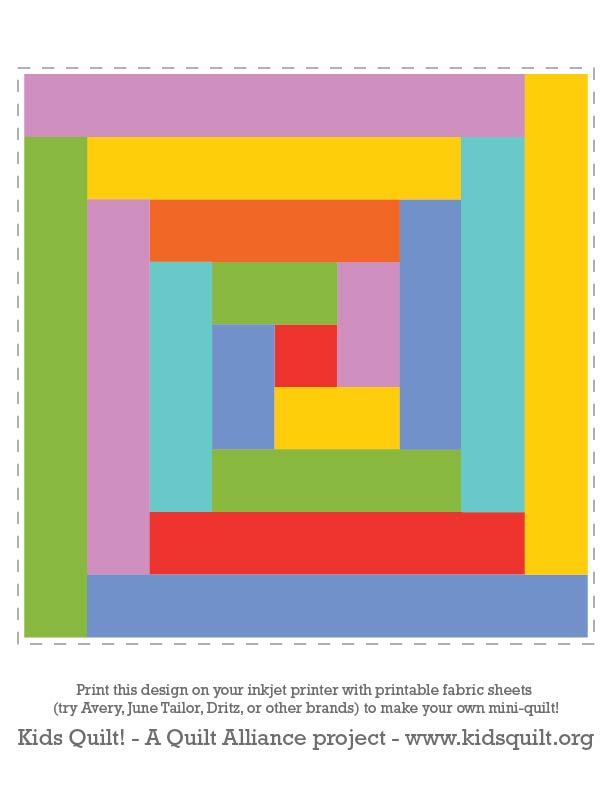
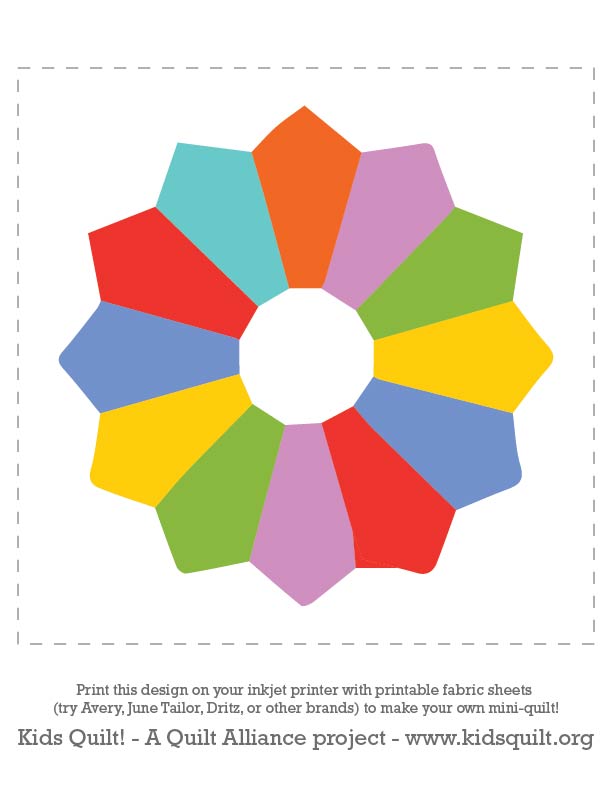
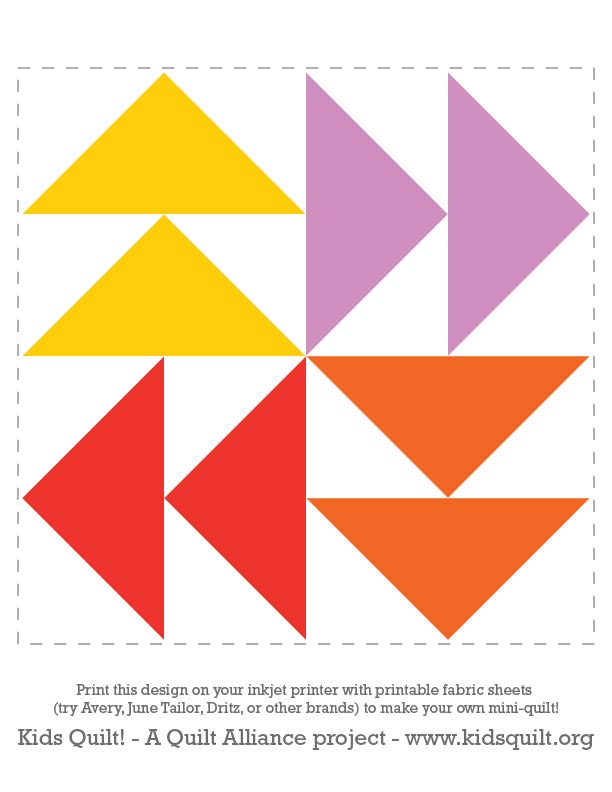
Printable mini-quilt designs
These five fun designs can be downloaded as a PDF–just choose your favorite quilt block and print it at home using printable fabric. You can find printer fabric in most fabric stores and big-box craft stores. Just load the fabric into an inkjet printer as you normally would load paper, and print these designs, or any other design you can think of!
learn more

Learn more about quilts!
Puzzles, coloring pages, and more!
Why have people been making quilts for centuries? Because they’re fun! Check out this page for quilt activities, trivia, and more.
(Keep an eye out–we’ll be adding more soon!)

About the Quilt Alliance
Kids Quilt! is a Quilt Alliance project
Quilt Alliance is a nonprofit organization established in 1993 with a mission to document, preserve, and share our quilt heritage.
Visit us at www.quiltalliance.org


![]()


© 2019 Quilt Alliance – www.quiltalliance.org